TinyGS
TinyGS is really cool, you can set up a ground station that receives packets of information from LEO satellites using LORA signals and pass them via a server to a central database. Whatever LORA project you use, be it Meshtastic, MeshCom or whatever, the distance is dictated by line of sight. Its no different with TinyGS except that there is not much in the way of the line of site between earth and a satellite in space, well except for the curviture of earth (sorry flat earthers).
I setup my TinyGS station some time ago and to be honest, I couldn’t remember how I did it and anyhow the way I set it up a couple of years ago may not be relevant today. So I went through the whole process again and this is how it went
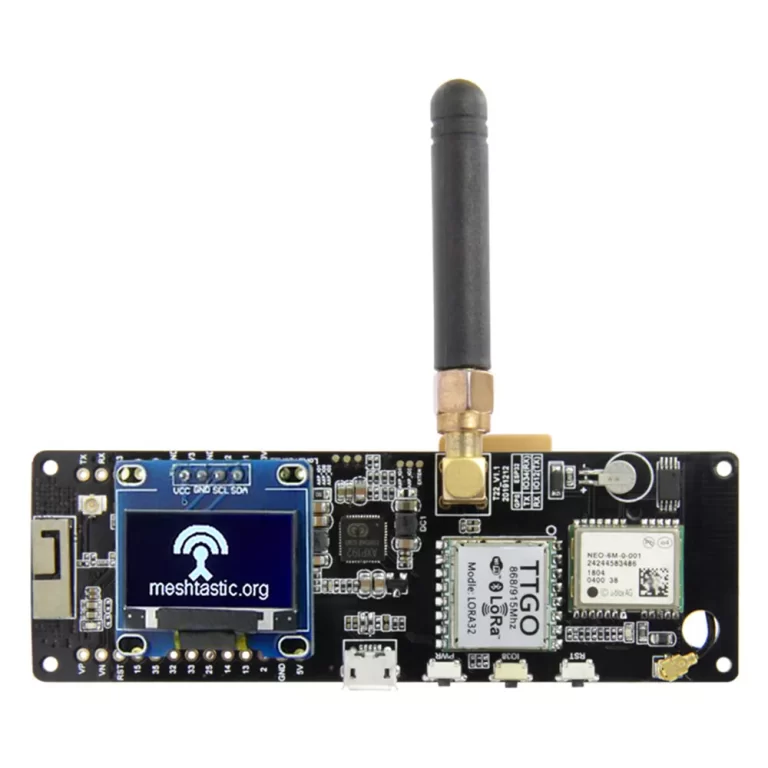
As usual I used my good old faithful TTGO V2.1_1.6 boards available from Aliexpess.
As in all my posts if you have not used this device before download and install the drivers, I used the ones on the MySondeGo website https://mysondy.altervista.org/mysondygo.php right at the bottom of the page CH9102F Drivers. Then go into device manager and set your TTGO to 115000 bps and remember the com port number mine was USB-Enhanced-SERIAL CH9102 (COM11)
Before starting I advise getting all the MQTT stuff out of the way first. I have never used Telegram before but you are going to need to use it, so download it from the play store and register. You are going to need to search for the TinyGS Community and join. Once all setup search for “TinyGS Personal Bot” then enter /mqtt. You will be given your username and password, I copied it and sent it via email to my computer so that it would be easy to cut and paste later on
Now head on over to https://installer.tinygs.com/ this is probably the easiest install ever, if you have already downloaded the drivers you just need to hit the install button, then when the pop up asks you for the com port then click on it…..mine was Com 11. You will be asked if you want to install TinyGS? if you are not sure of the answer then whats the point.. just click on INSTALL TINYGS. It will ask you “Do you want to erase the device before installing tinyGS? All data on the device will be lost.” click on the “Erase Data” tab then hit NEXT… it gets a bit tedous but bear with it, you are asked “Do you want to install tinyGS 2403242?” Click on install. Like every other TTGO install it will take a long time, so go make a cup of tea. Once the installation is finished a window will pop up saying so, obviously press the NEXT button
When I finished the installation the screen on my TTGO was black, and I thought all was lost. I looked on my computers Wifi and noticed that the access Point ” TinyGS” was available so things may be working. I clicked on and connected to the TinyGS access point then opened a browser and entered http://192.168.4.1/ the following webpage was then opened.
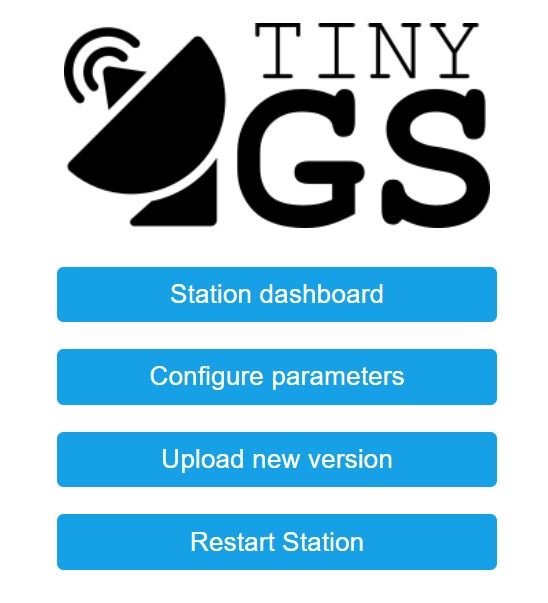
This was great news, so now I can enter the stations configuration.
GROUNDSTATION NAME: This is the name of your ground station. I chose my callsign G0CXW but you can choose what you like
GROUNDSTATION PASSWORD: This is the password of your ground station, you will be asked for this password next time you connect to it through the web panel. The user is always admin
SSID and PASSWORD: The configuration parameters of you home WiFi AP so that the ground station can connect to internet.
LATITUDE and LONGITUDE: The geographical coordinates of the ground station. This serves the purpose of locating your ground station when you receive a package from the satellite. You do not need a long latitude and longtitude only up to 3 decimal places mine was Long. 51.531 Lat. 0.793
TIME ZONE: Your timezone, this is to show you the time imformation in your timezone. I chose Europe/London you will need to choose the closest to your QTH
MQTT_USER and MQTT_PASS: These are the credentials of the project MQTT server, the purpose is to be able to collect the most packets from the sat need to satellite and manage all groundStations from this central server. You should have already joined The TinyGS Telegram group and requested you MQTT details
BOARD TYPE: The hardware board you are using. The firmware is able to autodetect your board but, in case the selection is wrong or you know what you are doing, you can change it manually by modifying this parameter. Mine did not auto detect and that is why the screen was blank so I had to choose 433Mhz Lilygo T3_V1.6.1 from the menu
I then clicked on apply the station rebooted and the TinyGS station was up and running.
Getting the TinyGS hardware up and running is only part of the journey, you need a decent antenna and get it in the clear if possible but you can still receive packets I was able to even with a simple 1/4 wave vertical in my front room.
You now need to get your station console up and running on the TinyGS website, simply go to the TinyGS Personal Bot on Telegram and enter /weblogin you will be given a link which will open your console in your browser
