Sonde Hunting
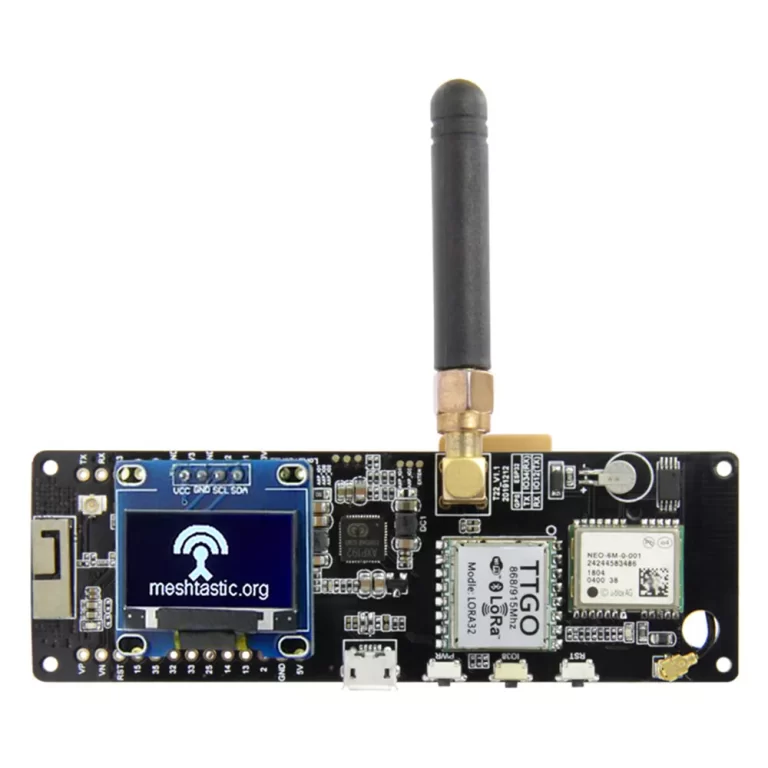
There are a few tools that you can make to help track the weather balloons each have their own merits and level of technical ability to get up and running. For home base 24/7 monitoring I use a 433Mhz Lily TTGO lora board programmed with RDZ TTGO Sonde. For this I use the older style boards V2.1_1.6 not the S3 version, you will find them on Aliexpress for about 20 quid landed but make sure you order the 433 Mhz type
You will need to program the board so you will need to hop on over to the download page https://rdzsonde.mooo.com/download.html you’ll need to download one of the master files full bin and offset 0x1000 and if you download an update then you need to offset it 0x10000 this will make more sense when your programme the device
You will need to unzip the .bin files somewhere easy so you can find it later
Make sure you have the correct drivers installed I used the ones on the MySondeGo website https://mysondy.altervista.org/mysondygo.php right at the bottom of the page CH9102F Drivers
You will need to go into device manager and change the baud rate to 115000kbs and remember the com port number. Mine shows up as USB-Enhanced-SERIAL CH9102 (COM11)
Now pop over to the Adafruit ESP32 online programming website https://adafruit.github.io/Adafruit_WebSerial_ESPTool/
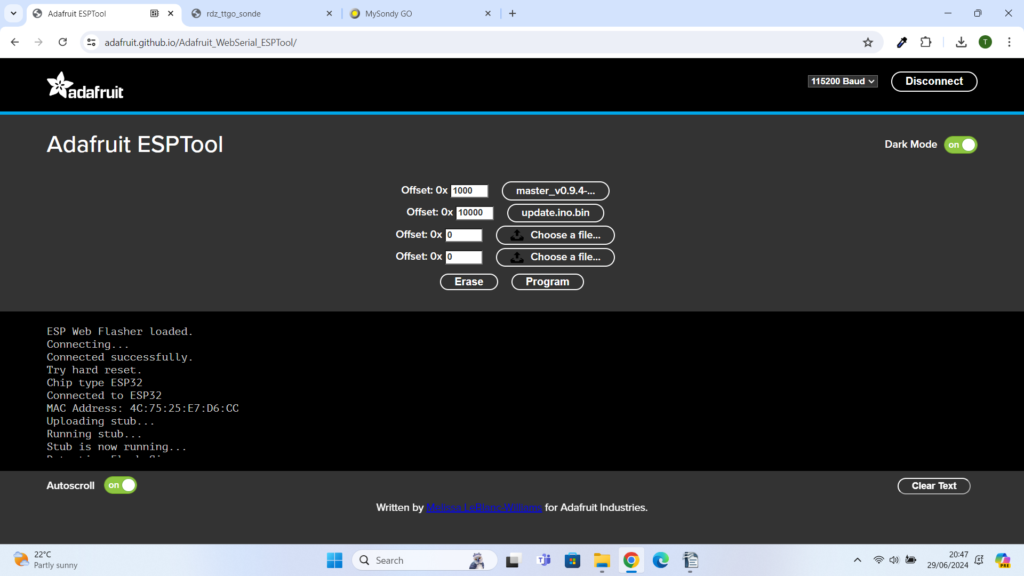
Add the .bin files that you downloaded earlier remembering to offset the full bin file x1000 and the update file x10000 Click the connect button top right, a window will pop up and you need to select your com port, in my case 11, now press program and make yourself a cup of tea. Once the device is programmed just unplug and plug in again and the programme should run.
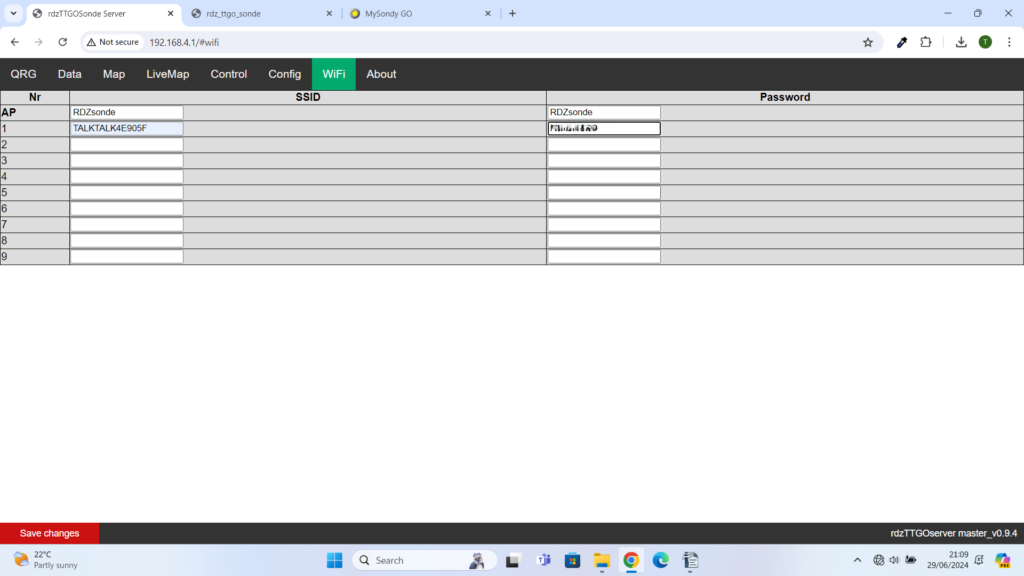
After the initial setup screen you will see the device scanning for balloons, these are preset and you will need to log into the devices access point so that you can set your WiFi login details. To do this go to your WiFi Settings and connect to RDZonde. Once connected go to your browser and enter 192.168.4.1 you should see the RDZonde server and be able to change settings
I set my WiFi first, don’t forget to hit the red “Save Changes” button (botton left) if you don’t and change page you will lose the changes
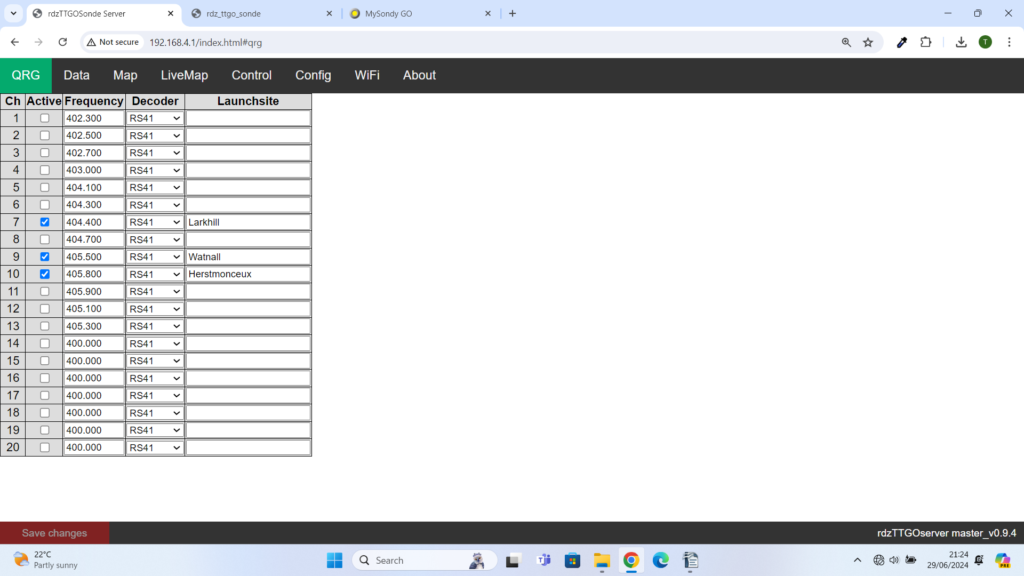
I then set the locations and frequencies of the closest launch sites in QRG
Then in config I set up to automatically report to Sondehub
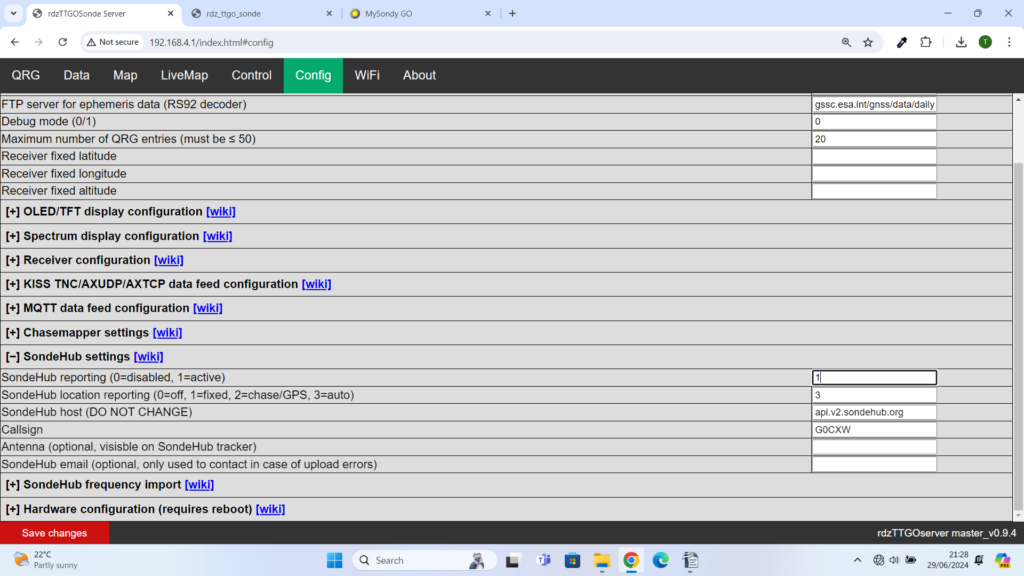
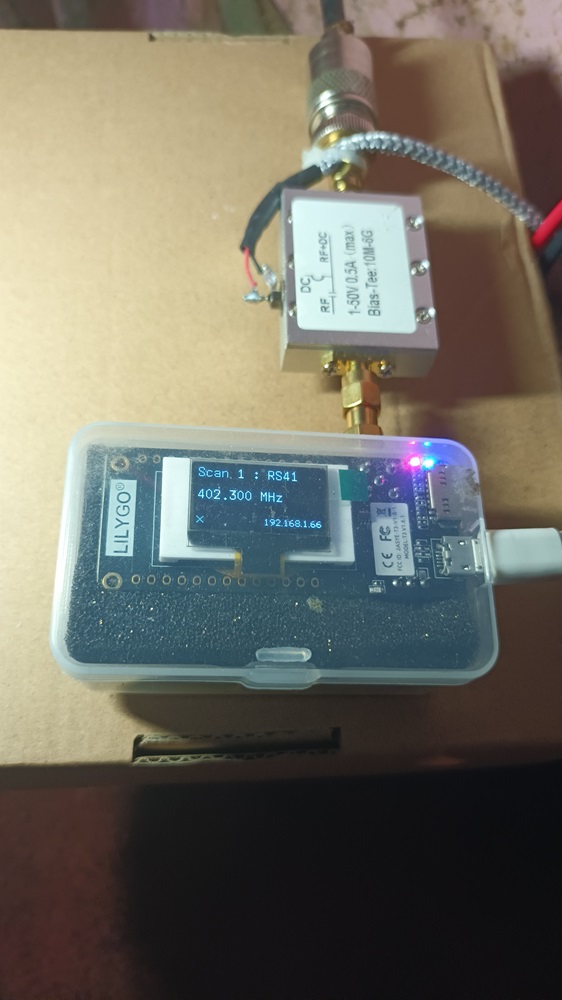
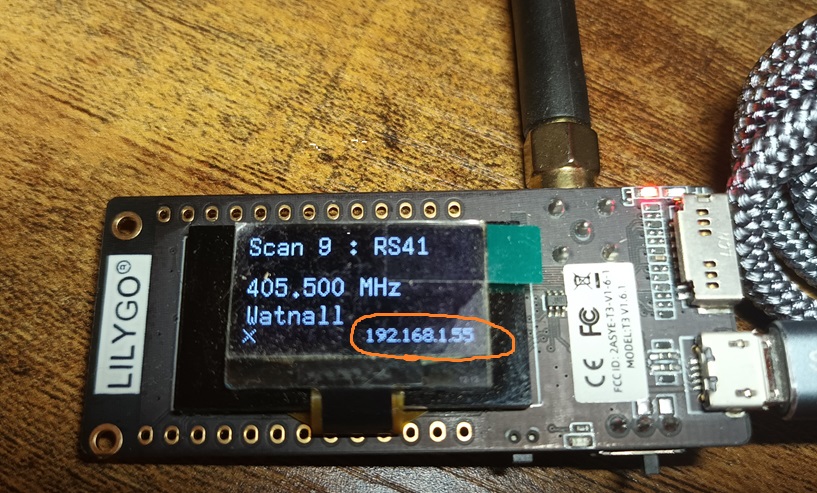
Switch the TTGO off and back on again and it should log into your WiFi, it will also scan the frequencies of the balloon launch sites that you set in QRG. Now log back into your WiFi and enter the IP address on the bottom right of the screen on your TTGO you should once again see the RDZonde server
Once up and running there is the small matter of keeping the device powered up 24/7, being in a flat my antennas in the loft, I have a 2M/70Cm Colinear, I fitted an LNA and this is built into a baked bean tin for screening purposes, along with a bias T board. The signal is fed down the coax to another bias T, this ones a bit more expensive than the one in the bean tin as it is in a nice screened box. Last but not least is the TTGO, both the TTGO and the bias T are powered by a double 5V charging plug
